I wound up doing this in my living room. There was JUST barely enough space for a smaller-than-twin (60" by 58") top, so when I get around to a bigger one I guess I will be taking it down to church and using the floor in Fellowship Hall.
I decided to live a little dangerously and just pin-baste this one. Some quilters use safety pins to hold the layers together (you can even buy "bent" safety pins, that are easier to close. And for a little premium, you can get a package of pre-opened pins, so you don't have to do it. But when I bought the pins I used, neither of those were available, so I had to use plain old pins and open them myself).
Usually I also sew-baste the layers, but (a) my hoop seems pretty good at holding stuff without it shifting and (b) it's a pain to sew-baste, and then to take the basting out at the end.
First step: make and iron the backing, and then tape it, right side down, to the floor. I usually use the blue painter's tape for this but I was out, and it was a cold rain outside, so I didn't feel like running to the Lowe's. I used packing tape instead, which is a little riskier for the floors, except I took it up very soon after putting it down, so it didn't seem to mar them. If, instead, it had been left on the floor for a couple days the adhesive could have done damage.
Then again, I couldn't leave this set up for more than an afternoon seeing as it took up the larger part of my living room:
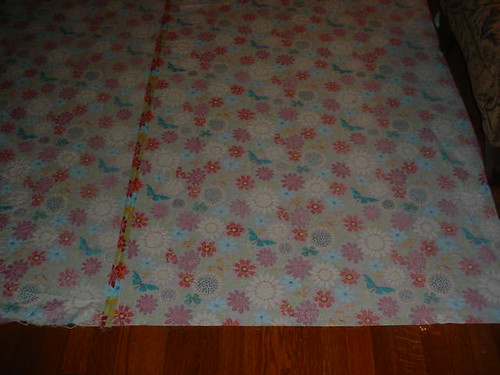
Next, I added the backing - which had PLENTY of time to "air," it had been out of its package and unfolded for more than two weeks:
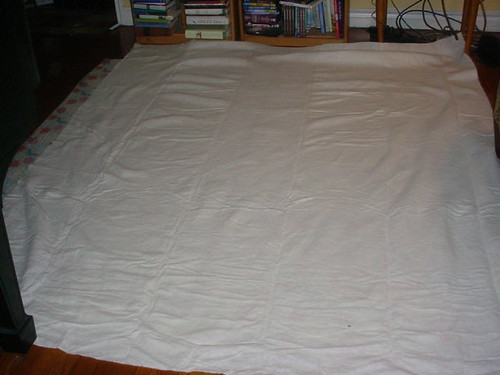
The batting is bigger than the backing in places but that's okay as long as you pay attention and make sure the top is totally on the backing. If I wanted to, I could trim it, but meh, I can do that later. (You can use the batting scraps for all kinds of things; my mom once put together a kludged-up outdoor faucet cover made of leftover batting when the one she had blew away.)
Then the top. It takes a little work to get everything smoothed and the wrinkles out (not shown: the step of pushing the wrinkles out of the batting):
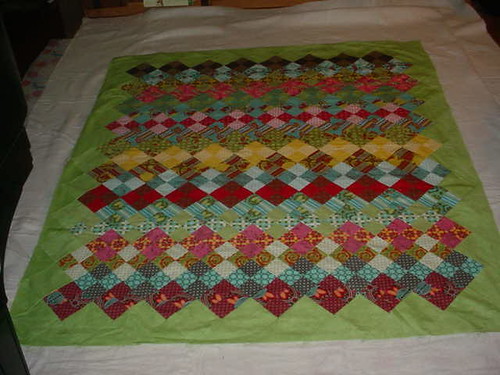
I tried to center it over the seam in the backing but if it's not perfect I don't care too much. I did strive to get it "square" on the backing so that there aren't competing grainlines and the like.
Last step: put in the approximately 1,000,000* safety pins to hold them together, making sure each time you catch all three layers without scarring the wood floor too badly.
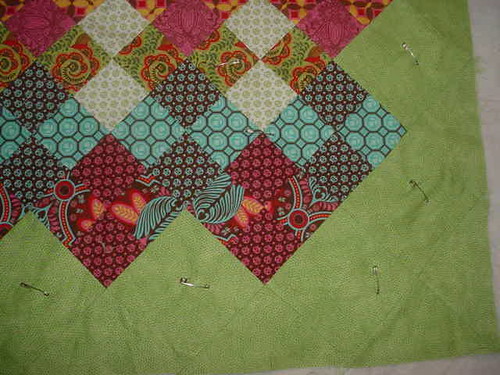
You can see the pins. Too late I realized I placed them right in the path of my planned quilting. Oh well. I can remove them as I go.
Also, I didn't mark the setting squares but the little four-petal design I plan doing (one "petal" pointing toward each corner) should be easy enough to eyeball, or I can cut the petal shape out of sticky paper and use that.
Then I pulled the whole thing up carefully, and carefully rolled it up until the hoop is free to put it in.
(*figure not accurate)
1 comment:
It looks GREAT! I really need to get my backside in gear and finish my niece's quilt. It is going to be a squeaker if I can get it done by xmas.
Post a Comment